Fixing a headboard seems simple... until you find yourself facing a plasterboard wall or a rental property where drilling is prohibited. Yet, the headboard plays an essential role in the comfort and decor of a bedroom: it structures the space, protects the wall and adds a touch of style. Good news: there are now clever solutions for installing your headboard without damaging your walls — and without spending hours on DIY. In this article, discover all the methods for fixing a headboard, with or without drilling: quick tips ideal for fragile walls, through to more solid systems for heavy or solid wood models.
✅ Quick answer: How to fix a headboard without damaging your walls?
To fix a headboard without drilling, you can simply place it between the wall and the bed, use strong adhesive strips or velcro, or choose a freestanding headboard with non-slip feet. These solutions are perfect for plasterboard walls, tenants or those who often change their decor. If your headboard is heavy or very wide, a wall fixing with cleats or sliding rails will be more secure, provided you respect the constraints of your wall.
Why fixing your headboard properly is important
Fixing a headboard is not just about decorating the bedroom. It improves everyday comfort: stable support when reading or watching a film, protection against the cold wall, and even sound insulation if you share a party wall.
But between plasterboard walls, beds without fixing points or rental apartments, it is not always easy to know how to fix it. Fortunately, there are methods with or without drilling, which adapt to all situations.
Fixing a headboard without drilling: 3 simple and effective methods
1. Placing the headboard between the wall and the bed base
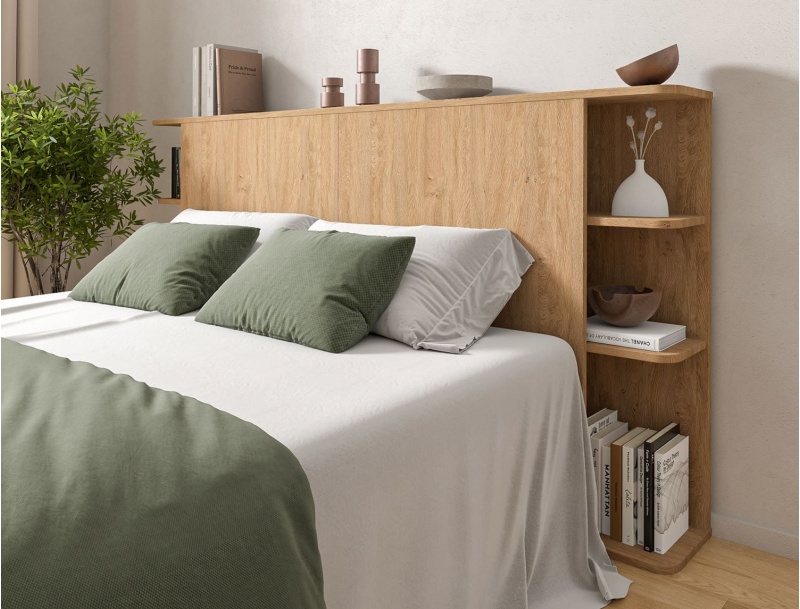
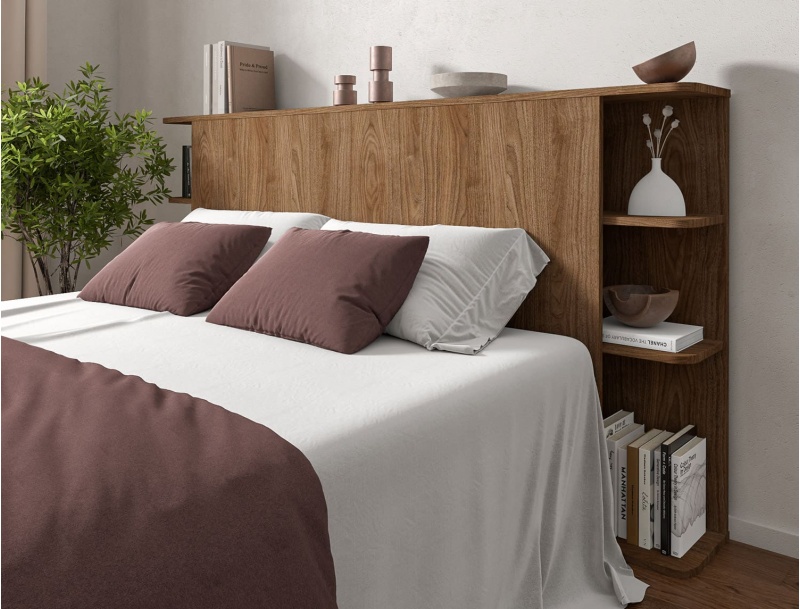
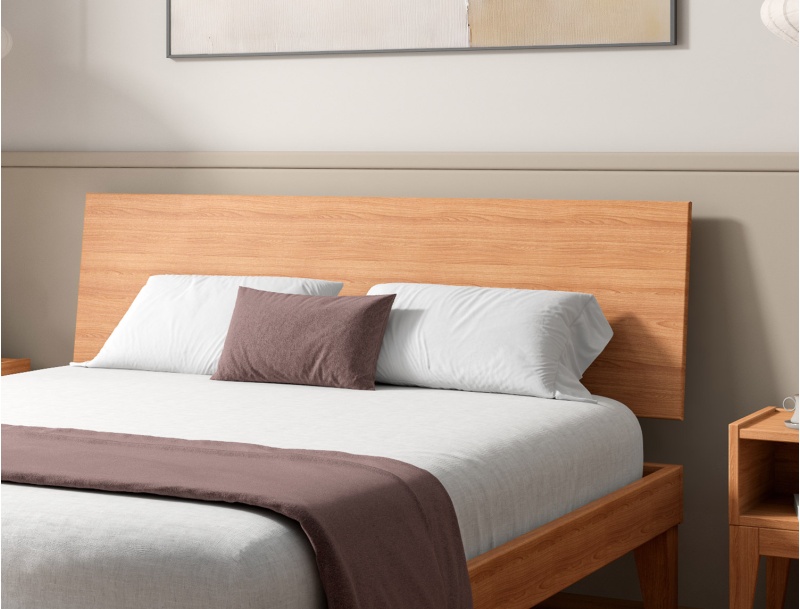
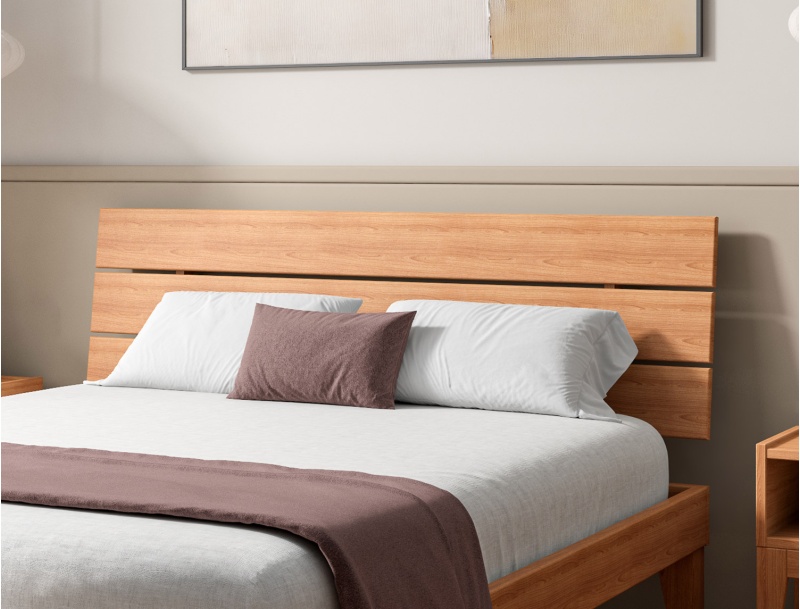
This is the quickest and most common method. Simply slide the headboard behind the bed, without any fixing. The weight of the bed base and mattress is enough to hold it in place. This technique is ideal if you have a headboard that is not too high (less than 130 cm) and not too light.
The advantage is that you do not need any tools. In a few seconds, the headboard is in place, and you can remove it just as easily if you want to move the bed or change models.
However, this solution may lack stability with models that are too thin, very light or too high. If you feel it moving, combine it with velcro strips or add non-slip pads under the headboard.
2. Using velcro or strong adhesive strips
If you want to fix the headboard to the wall without making a hole, velcro is an excellent solution. Simply stick the "hook" part on the wall (clean and dry) and the "loop" part on the headboard. Then press firmly to fit them together. Some brands even offer ready-to-use kits.
This system works very well with light or medium-weight headboards, particularly those made of fabric or thin wooden panels. It is ideal for rentals, as you can remove everything without leaving a trace.
An important tip: clean the wall thoroughly before applying the strips. Dust or flaking paint reduces adhesion. Avoid this method on rough or grainy walls.
3. Choose a freestanding headboard
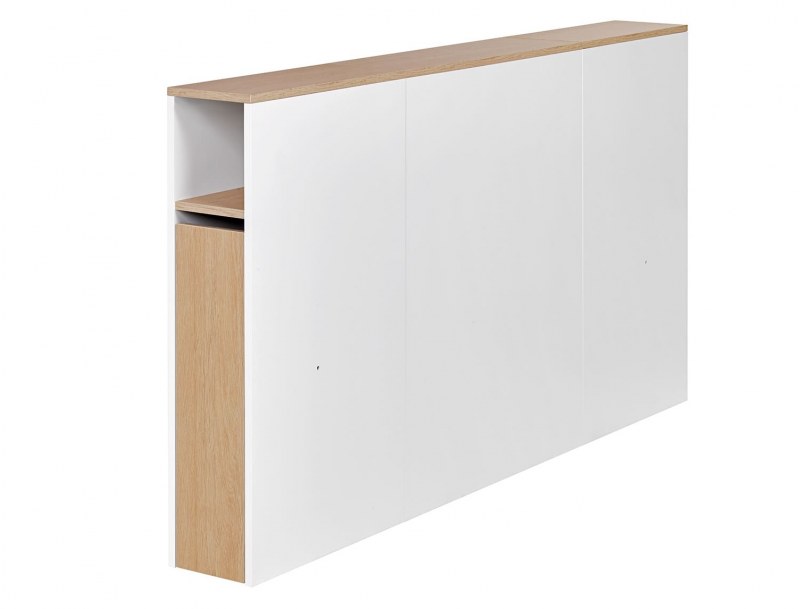
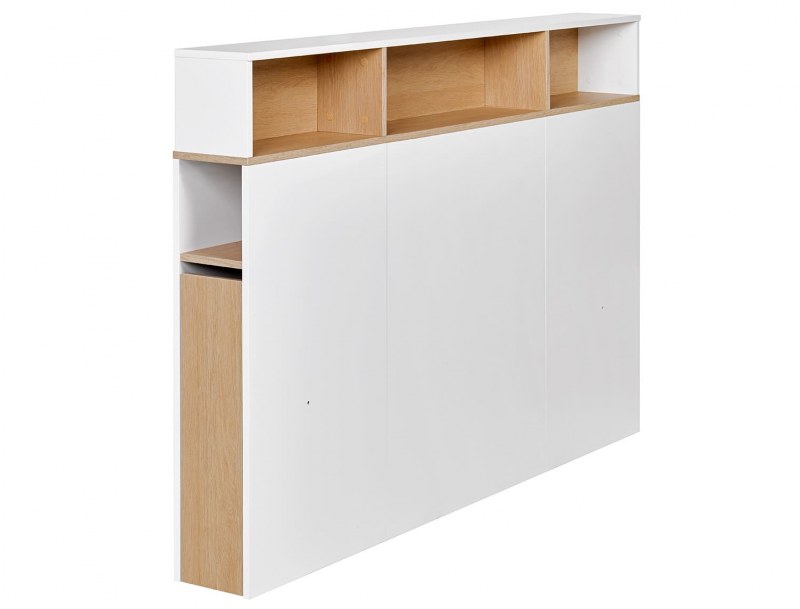
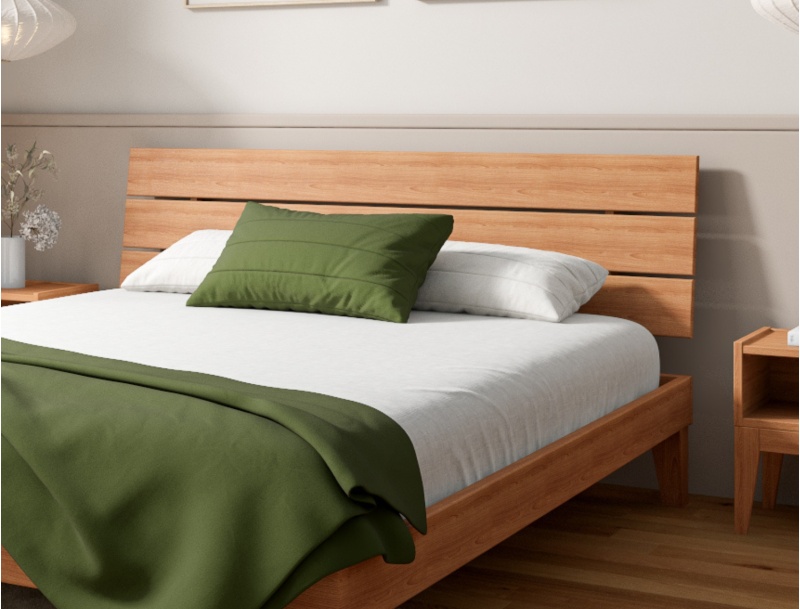
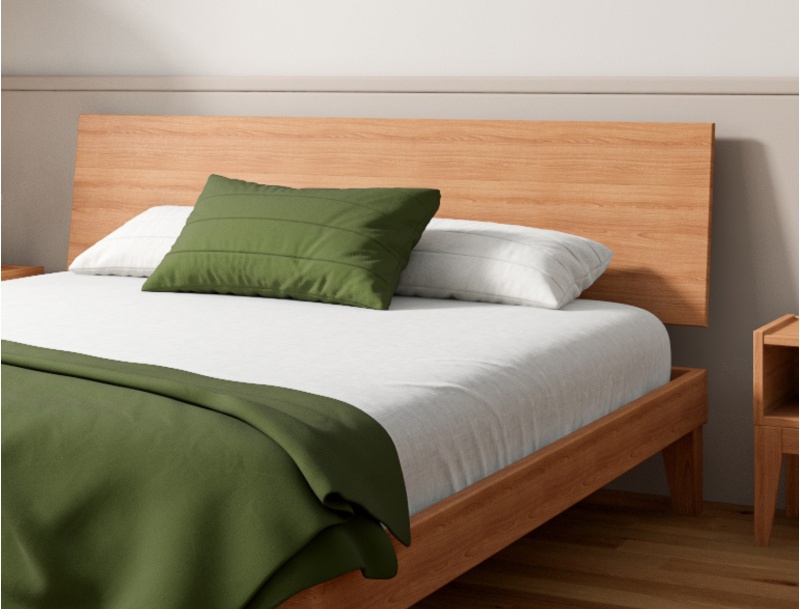
Some models are designed to stand alone, thanks to their weight and stability. They are called "freestanding headboards". They often have discreet feet or rubber pads that prevent them from sliding.
You just need to slide it behind the bed, making sure it is straight. This is the cleanest solution, without glue or screws, while offering very good stability, even for slightly taller models.
This type of headboard is perfect if you like to change your decor regularly or if you are planning a move.
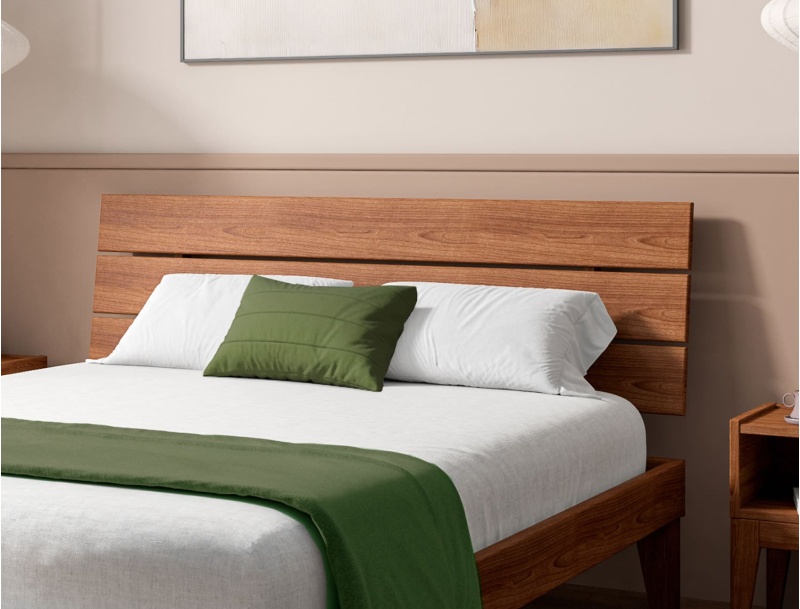
Wall fixing: for a heavier or taller headboard
If your headboard is solid wood, metal, or simply very wide, methods without drilling may not be sufficient. In this case, wall fixing is more suitable. Two systems are particularly recommended.
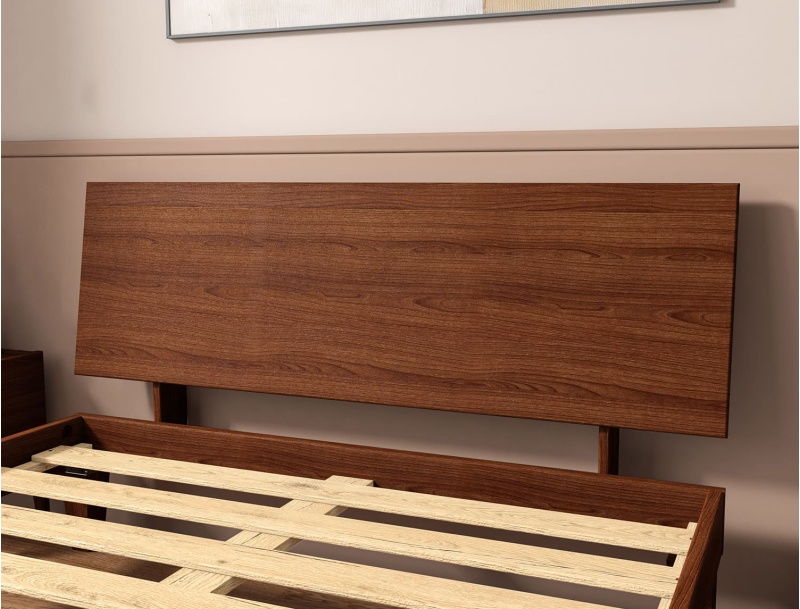
This is a two-part fixing: one cleat fixed to the wall, and another to the back of the headboard. One fits into the other. This is called a "bevel" or "dovetail" fixing. The recommended angle is approximately 30°, which ensures good support.
Start by firmly fixing the wall cleat with screws suitable for your wall (concrete, brick, plasterboard...). Then, install the second cleat on the back of the headboard. The assembly is invisible once mounted, and you can remove or change the headboard easily.
This method is particularly stable. It also allows you to create a slight gap between the wall and the headboard, which prevents moisture accumulation or rubbing.
2. The metal sliding rail system
Sliding rails are tracks fixed to the wall and the headboard. Once installed, you simply slide the headboard up and down to clip it in place. This is a system often used for heavy wall-mounted objects.
The kits are generally supplied with the necessary screws and wall plugs. You just need a drill and a spirit level to ensure alignment. Installation is quick (less than 30 minutes in most cases) and very stable.
Sliding rails are recommended if you want a system that is easy to dismantle, especially if you regularly change your model or decor.
Fixing a headboard according to your wall type
The type of wall is very important in choosing the method.
If your wall is concrete or brick, you can use standard screws without any problem, with suitable wall plugs.
If your wall is plasterboard, you need to be more careful. It is recommended to use a stud detector to screw directly into the metal structures of the wall. Otherwise, you can use specific wall plugs called Molly bolts, which deploy behind the partition to firmly hold the fixing.
Finally, if your wall is fragile or decorative (for example, wallpaper or fragile paint), opt for no-drill solutions.
What to do if your bed does not allow a headboard to be fixed?
Some modern beds, such as platforms or metal bed bases, do not have fixing points for a headboard. In this case, you have two options.
The first is to choose a freestanding headboard, as mentioned above. This is the simplest and safest method if the bed frame cannot be modified.
The second is to use an independent wall fixing, with no connection to the bed. This allows you to fix a solid headboard, whatever the structure of the bed, while maintaining great design freedom.
Conclusion: which solution to choose for fixing your headboard?
As you have seen, there are many ways to fix a headboard, with or without drilling. The choice mainly depends on three criteria: the weight of your headboard, the type of wall, and your DIY skill level.
If you are looking for simplicity, opt for a freestanding headboard or velcro strips. For solid long-term support, especially with heavy materials, prefer wall fixings with cleats or sliding rails.
In all cases, it is essential to respect the compatibility between your wall, your bed and your headboard. And if you still have doubts, the guides offered by specialist manufacturers such as Chambrekids can help you choose the right model and the right installation method.
To find out more about headboards...
To go further in personalising and arranging your bedroom, we also recommend these complementary articles on the Chambrekids blog. They will provide you with creative and practical ideas around headboards:


 What Age for Bunk Bed: Standards and Safety
 When to put baby in their room: age and transition
 Best Choice for Baby: Bed Attached to Parents or Next to Them?
 The convertible bed: furniture that grows with your child
 The bunk bed with storage and desk: discover its advantages!